Nixie Clocks
Nixie-based tube clocks
- Details
Here is a Nixie Clock from Nixie Neon that is a little bit usual. Instead of using solid state components to provide the counting logic, it uses a tricky piece of circuity called a "ring counter" to divide the input mains frequency down to pulses that drive the Nixie tubes.
Originally this was spotted as an eBay auction, starting off as a $0.99 auction. It is certainly one of the more innovative Nixie clock designs that I've seen (innovative in that it is unusual to see the logic done this way nowadays.
Have a look at the video below to see the ring counter goodness. The spinning neon lights are NOT decoration, they are the logic to run the clock!
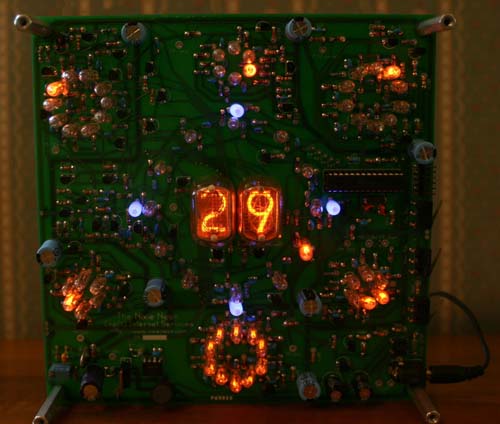
From The Auction
This kit has all of the components to build a unique clock utilizing neon ring counters to countdown the AC wall current. The kit includes the front and back pieces of plexiglass, the AC adapter, PCB and all electronic components including spare neon bulbs and fuses.
The completed clock is 7 1/4" square and 2 1/2" deep.
The clock can stand on it's own as it is, or it is ready for you to put it in the case of your desire!
With over 400 components, it will prove a challenge for young and old electronics hobbyist.
The kits include BLUE neon bulbs marking the 12, 3, 6 and 9 o'clock positions.
To view schematics, the assembly manual and other good stuff about the clock, visit http://www.nixieneon.com .
YouTube Video
Links
- Details
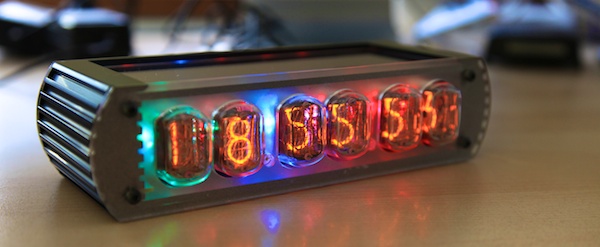
I’ve had this clock for a few days now and have put it though it’s paces. The 1-second review is “BUY IT.”
Video Review
{vimeo width="700" height="390"}14515882{/vimeo}
The clock as a whole
Jürgen Grau is the deigned behind this device and he sells this clock as both a kit and fully assembled. The kit costs €149 and the fully assembled costs €179 (Currently: $190/$230) Jürgen is very accessible and is fluent in German and English.
Now, on to the clock! Stylistically, I like it. The photos on NixieKits.eu do not do this device justice. The LED’s are much more vibrant than I expected and the colorful effect that they create manages to look nice without looking gaudy. There is a knob in the back which allows you to turn the brightness of the LED’s up and down (and completely off.) The colors slowly cross fade and and produce a pleasing effect on the front of the case. I didn’t think I use this feature much because I generally prefer simple designs - but the colors are mesmerizing. I actually leave the LED’s on all of the time, something I would not have expected.
The clock uses IN-12b tubes that are known for having an upside down numeral 2 in place of a proper numeral 5. (It is worth noting that any clock that uses these tubes will have the same upside down 2/5 as well.) This may sound odd, but I really like it. It gives the tubes (and the clock) an nice quirkiness that is fun to explain to non-nixie clock lovers. The digits fade nicely between numbers. The face value can be set to quick, slow, or not at all.
Something that surprised me was the display is multiplexed. For the first two days that I had this clock, I didn't actually notice it. Generally multiplexed displays are dimmer and have a slight flicker that is visible when your eyes move past them - but not this clock. It was not until I pulled out the wiring diagram that I realized that this is multiplexed. Jürgen did such a nice job engineering this that it does not have any of the characteristic dimming problems associated with driving nixies in this way.
Cathode poisoning is a problem with any nixie clock and this design mitigates the problem in a few ways. First, Jürgen provides two transition effects. The first waves the digits across the display and the second simulates a slot machine. These are shown in the video review above. Second, Jürgen has built in a feature that allows the clock to scroll the date in addition to the time. Lastly, the display itself can be dimmed or turned off entirely at night.
The tubes themselves are only about exposed by about 5mm. Since the clock shields all but the very tip of the tubes, they are largely protected from physical damage. With that said, buying a spare set of tubes on eBay probably isn’t a bad idea. They are still cheap to obtain and spares are always a good idea to have on hand.
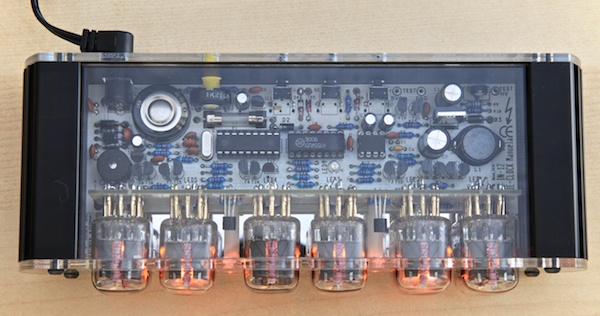
It’s the little things that count
On the subject of LED’s there is one other minor feature that I would like to point out. The two LED’s on the front face of the clock are nearly identical to the neon color of the Nixie tubes. I don’t know how Jürgen matched them so closely, but I actually mistook them for neon indicators the first time I looked at them. Points for attention to design detail like that!
On the back of the clock is an abbreviated instruction manual. It simply lists the option number and the attribute it represents. This is a design detail that I think is frequently overlooked: people lose instruction manuals. By having it printed on the back side, the major functions are always visible to the user. I’ve owned nearly a dozen nixie clocks (and VFD/numitron) and this is the only one I’ve seen with this feature.
On the kit version, Jürgen includes a 7th IN-12 as backup.
In the kit components, he thrown in a lead forming tool. While this is not 100% necessary for assembling the clock, it does help with the overall final build quality. I appreciate that he included one because it means that the only tools needed for assembly are a soldering iron and a hex shaped screwdriver.
Clock Options
- 12h / 24h format
- Suppress Leading Zero
- Cross fade Speed (Fast/Slow/Off)
- Date Format
- Date Display (Never – every 10, 20, 30, 40, 50s, on the hour, at midnight)
- Date Scroll Speed
- Digit Cycling (slot machine style…)
- Slot Stop Format (for the above setting)
- Tube Brightness
- Precision offset
- Alarm Tone Sound
- Dimmed Brightness
- Start Dimming Time
- Dimming Duration
The clock as a kit
Organization is key in a kit like this. Jürgen meticulously packaged the components in a dozen little bags, hand wrote labels on each one, and even included some spare parts. The bags are numbered and referenced in the manual during assembly.
There are two instruction manuals provided. The first one covers the clock operation. It is clearly laid out, color coded, and easy to understand. Each function is defined and instruction on how to set or change values are provided for each effect, setting the date, etc.
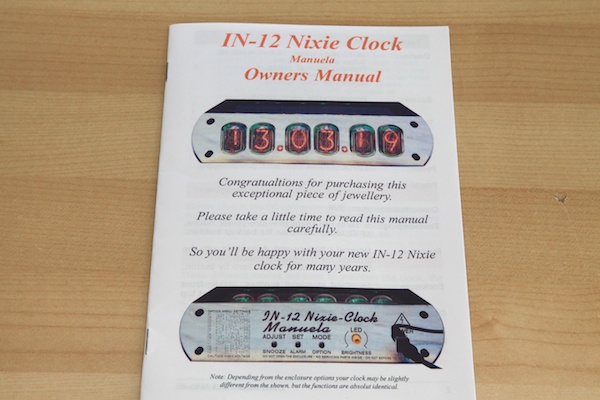
(Owner's Manual)
The second manual covers building the clock. I don’t normally spend too much time talking about manuals here but this one warrants coverage. The manual starts appropriately with the words “Take it easy.” The manual estimates that it will take roughly 3 hours to build the clock. I’ve contacted another owner who reported that it took him three evenings to assemble the clock. This manual provides numerous photos of many of the complex build steps along with a clear description of the immediate task. The construciton of the clock is broken in to 22 distinct steps. Lastly, there are photos of the nearly completed PCB, a diagram of the component positions and a large schematic on the back. Even if you don’t assemble the clock yourself, this is a great tool for studying the clock’s design. Scroll down to see photos from the manual.
Photos - Components
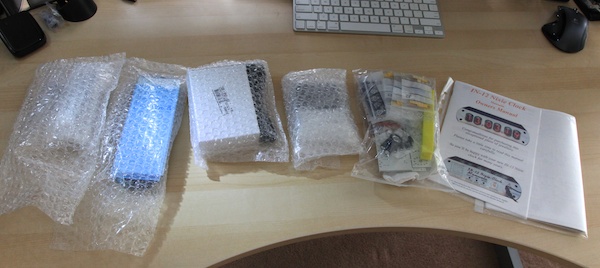
(Everything included in the package)
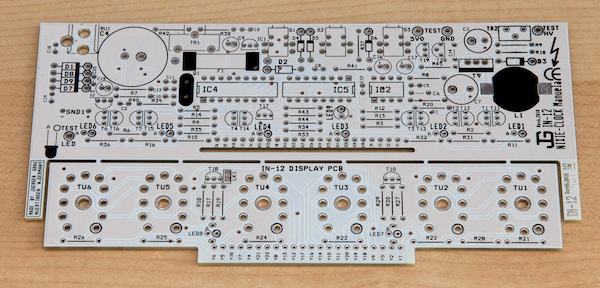
(Top of the PCB)
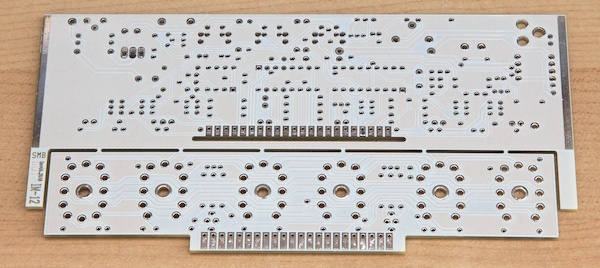
(Bottom of the PCB)
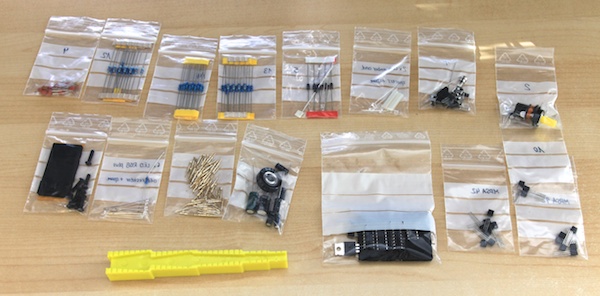
(All of the electronics. The lead forming tool IS included.)
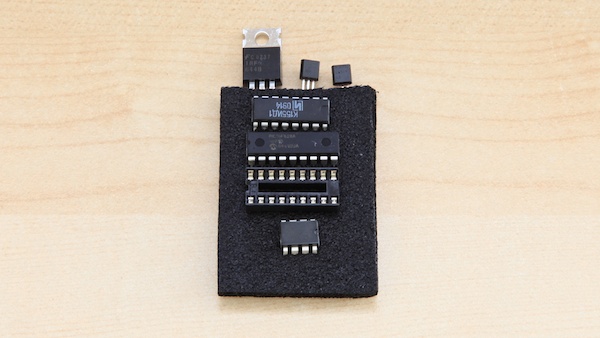
(Microcontroller, etc.)
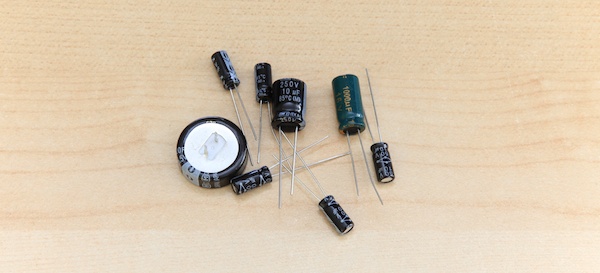
(Capacitors, the one on the far left is a 1F cap)
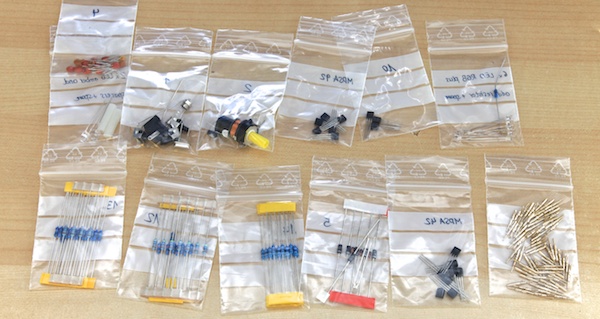
(Some of the components)
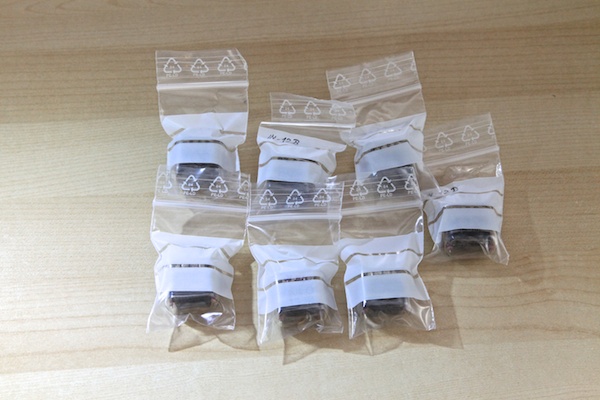
(The IN-12's plus one spare)
Photos - Enclosure
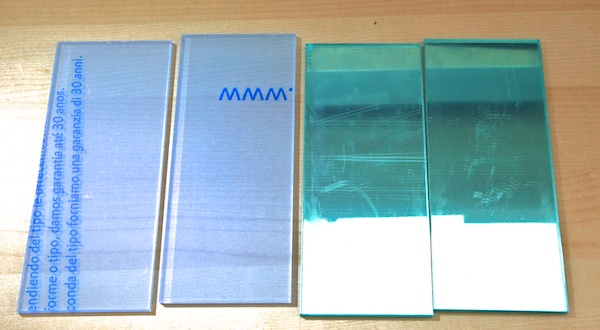
(These form the top and bottom of the device. The have a plastic film to prevent the acrylic from scratching. All of the lettering and scratches in this photo are actually on the protective film and not on the acrylic.)
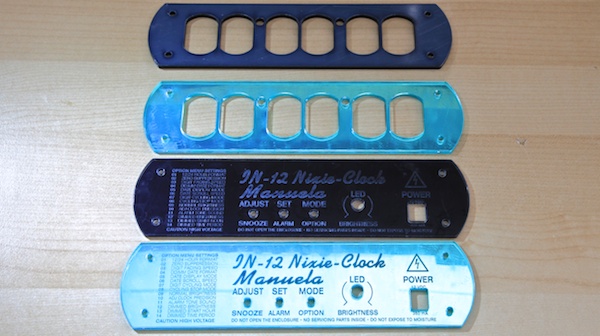
(The front and back pieces to the clock.)
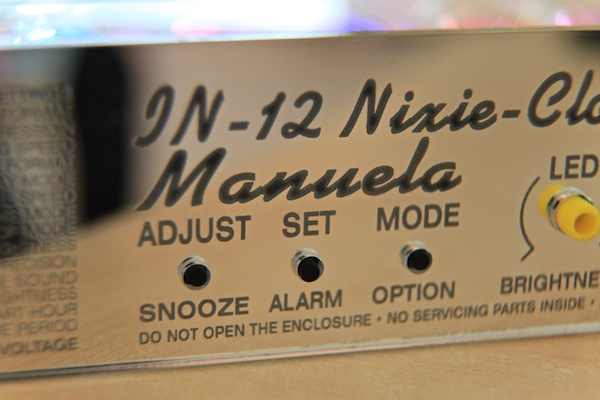
(Close up shot of the back of the clock)
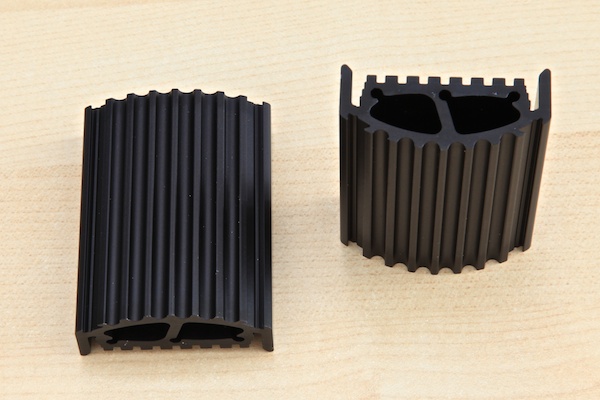
(The machined aluminum and power coated sides of the clock)
Photos - Everything Else
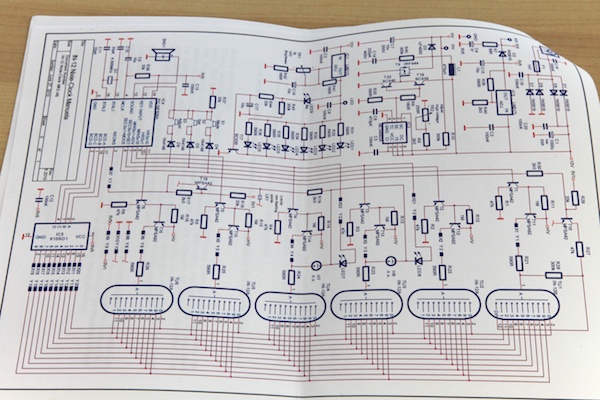
(Diagram inside assembly manual)
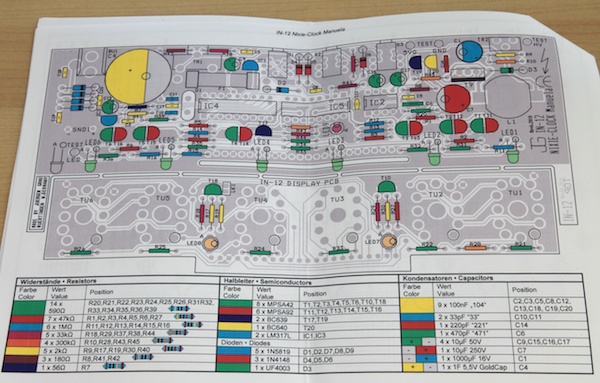
(Diagram inside assembly manual)
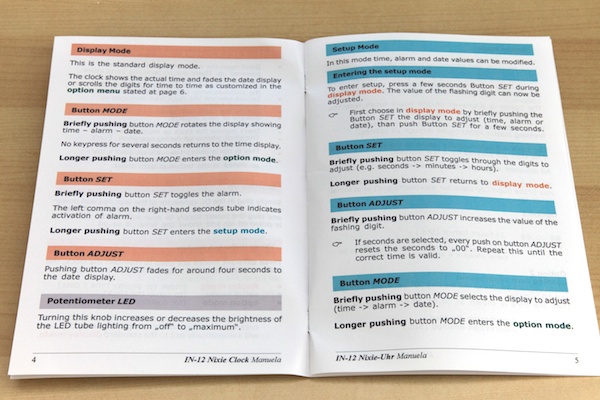
(Sample of Operations Manual)
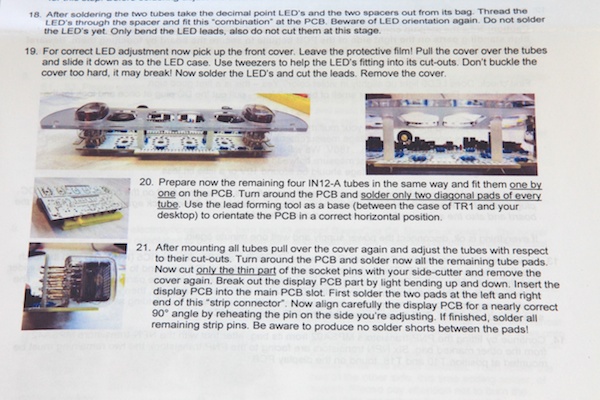
(Sample of the assembly instructions)
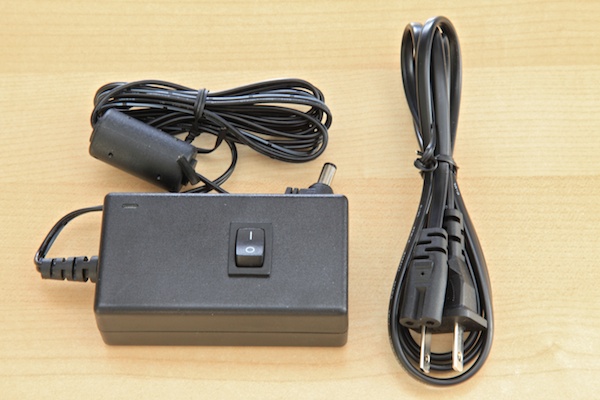
(The power supply)
Things I like
- The transition effects for the nixie tubed
- It is easy to program the clock
- LED colors are VIVID
- Solid physical construction
- Quick reference on back
- Very clean and professional finish
- Clear acrylic top
Verdict: BUY IT
I know I said this at the top of the article, but this is a solid BUY. The photos on NixieKits.eu do not to justice to this device. I’ve personally owned over a dozen different nixie clocks and this one does stand out. If this clock ever breaks, I would buy another one without hesitation.
Links
- Details
Here is a preview of my upcoming review of the IN-12 Nixie Clock Kit Manuela from NixieKits.eu. I've only had a few hours to play with this one and I really like it.
{vimeo width="700" height="390"}14406942{/vimeo}
- Details
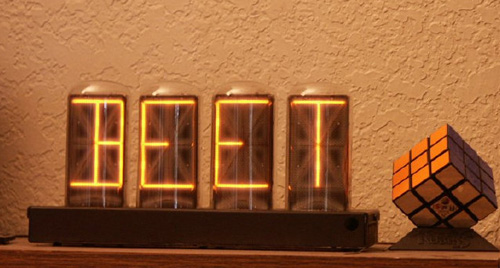
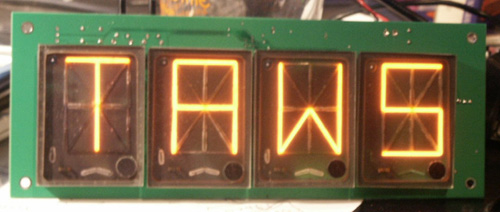
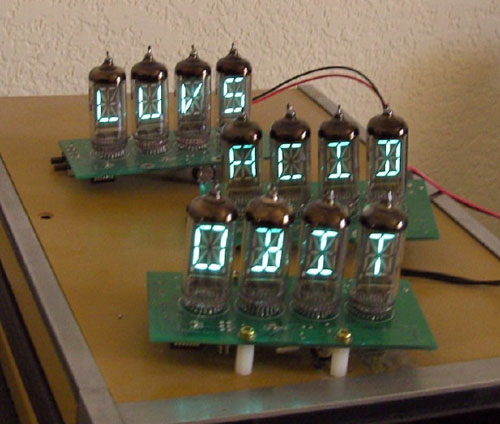
If you are looking to build a four letter word device, this the way to go. It was deigned by Peter Hand and it was created out of necessity when an infamous scammer refused to deliver the promised B7971 clock design and he had to design his own. The entire device is surface mount components and supports either B7971 of the flat ZM1350 style tubes. The kits is $100 or pre-built (without tubes) for $120.
He also has an IN-17 (vfd) version of this device too. Be sure to stop by his site for more information.
Links:

