Nixie Clocks
Nixie-based tube clocks
- Details
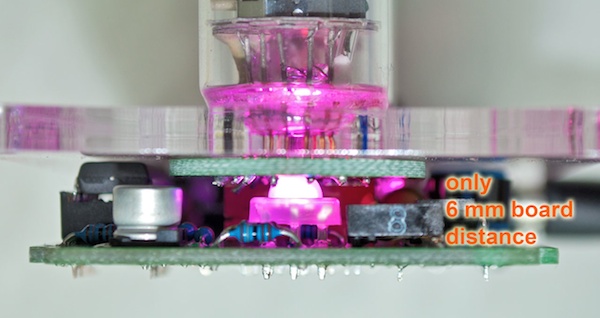
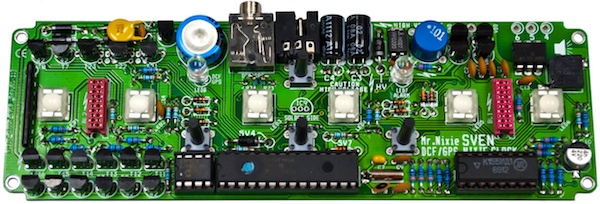
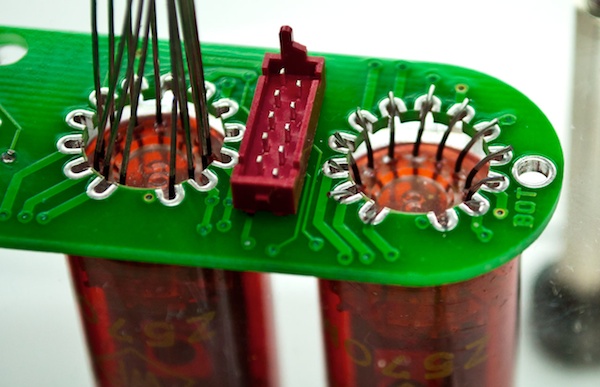
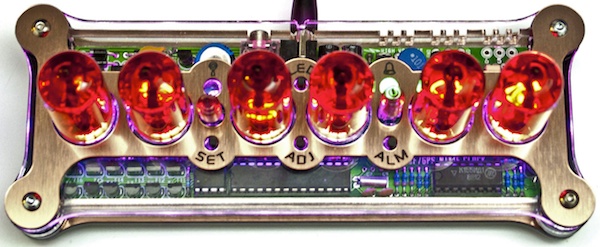
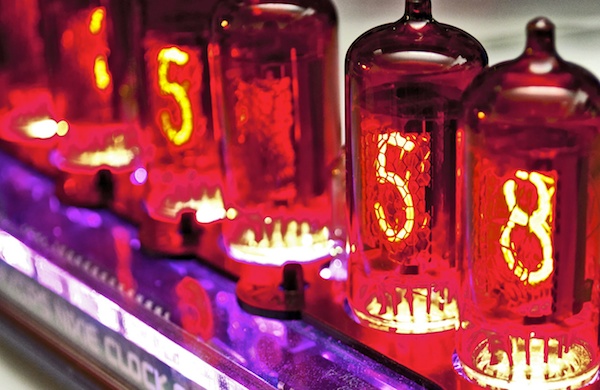
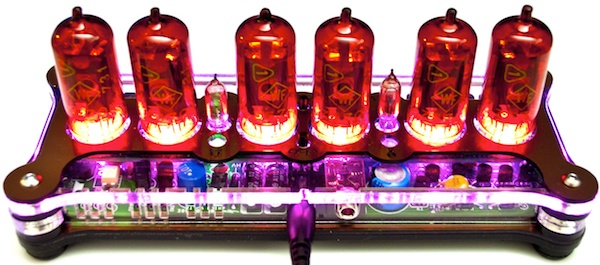
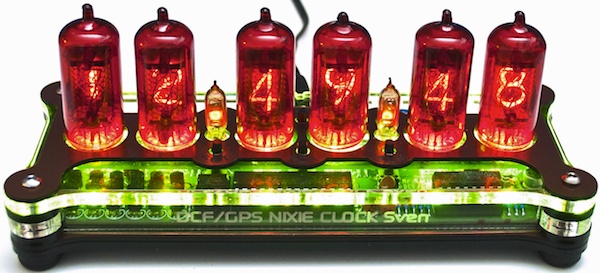
The latest clock from nixiekits.eu is now for sale - meet SVEN! Right now, there is a special promotion for early adopters - you can get the clock now for a great price of $219 / 149 EUR.
Links:
- Details
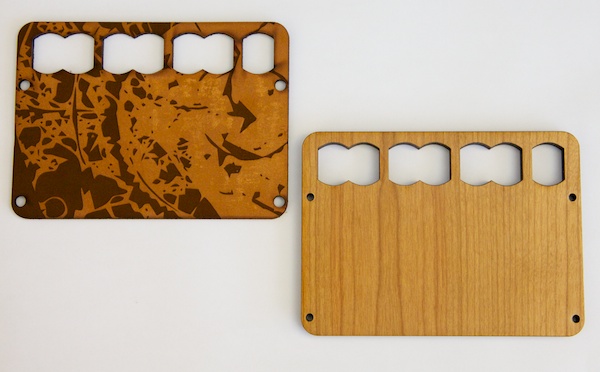
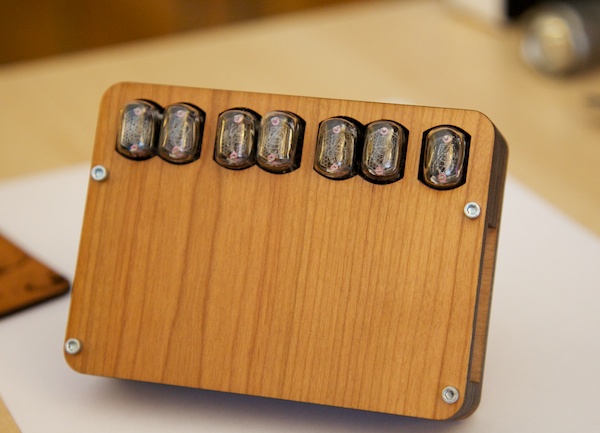
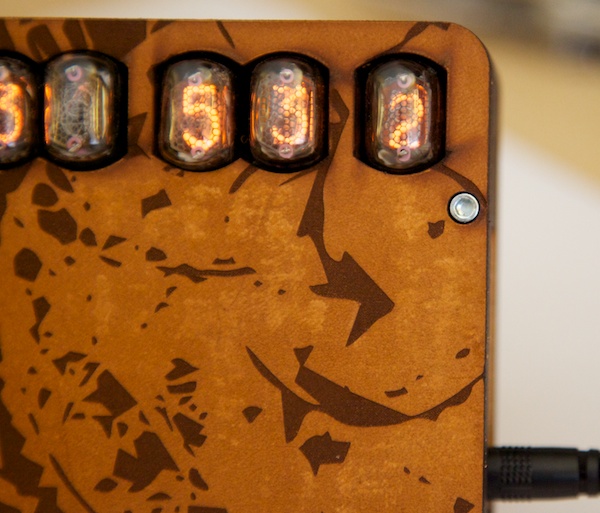
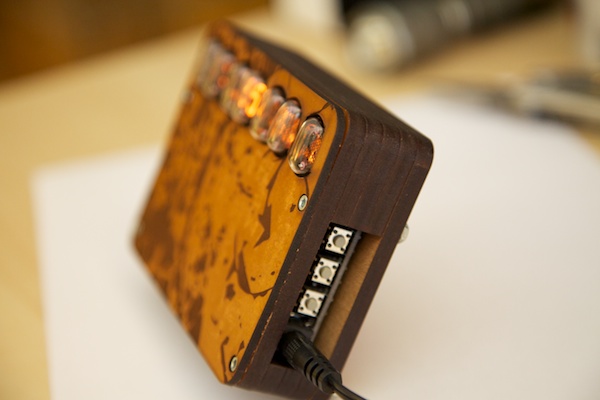
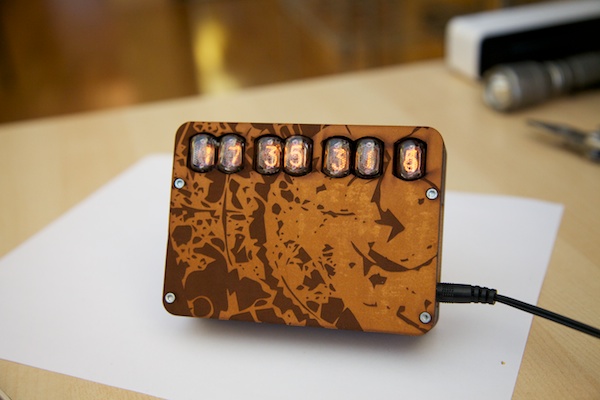
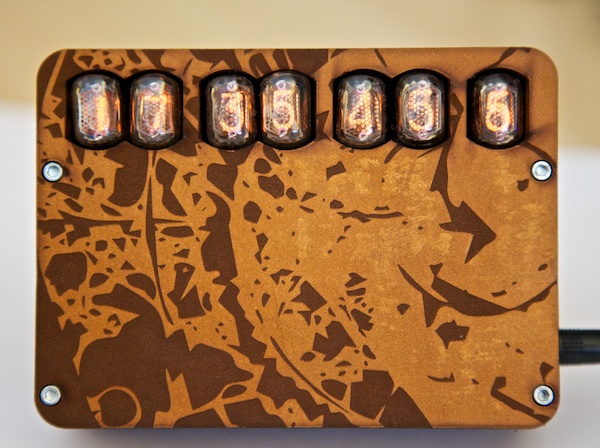
If you loved Bob's IN-17x7 clock, you'll want to check this out. It is a laser cut and laser etched leather cover for the design and it looks pretty slick. It is about 1/5th of an inch thick and sits in front of the wood pannel. It is held in place by friction from the mounting screws and perfectly covers the front of the clock. Check it out:
P.S. If you're looking to buy one of these clocks, DO IT NOW! According to his notice, he is running low on driver boards and it will take a little time for him to have new ones made.
Links:
- Cogwheel Announcement
- Online Store
- Details
Price: $375 (kit) / $450 (assembled)

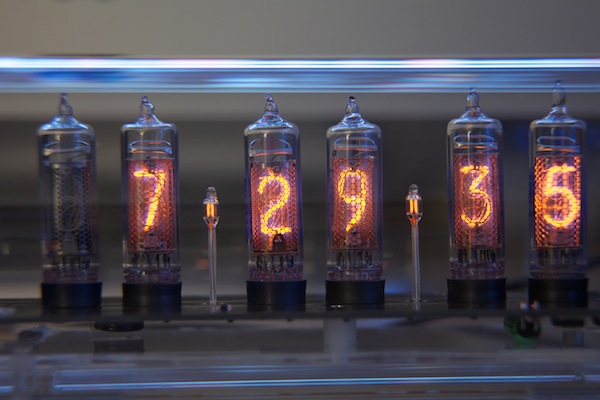
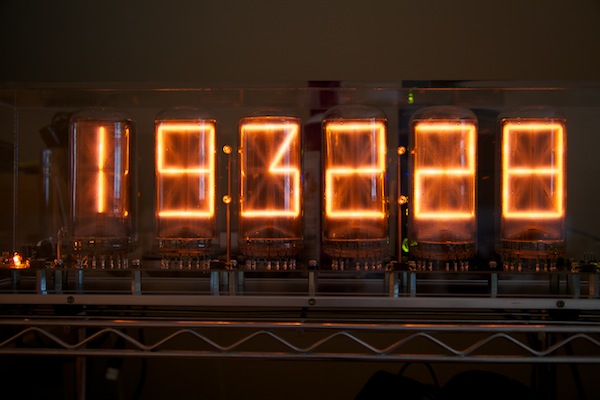
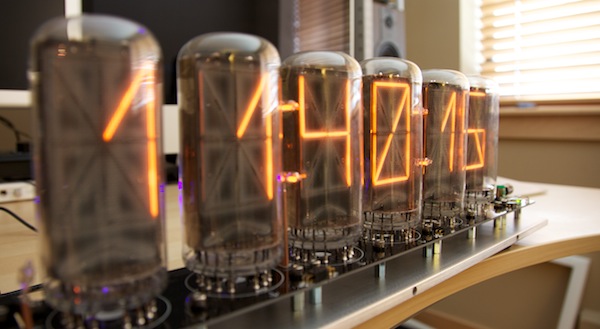
We’ll just this out of the way right now: this thing is big. It’s impressive. It commands attention in a room. If you thought your IN-18 clock was large, you haven’t seen this guy.
This clock is the combined work of Carl Ott and Michael Barile. It is sold as both a kit and fully assembled. Additionally, there is an optional acrylic cover that can be purchased to cover the tubes. Please note that tubes are not included with this device. I can’t blame them; they are difficult to find but they do pop up on eBay once and a while. If you have a stack sitting around, this clock is for you.
Video Review
{vimeo width="700" height="390"}25328823{/vimeo}
The electronics
Carl Ott designed the boards as well as the firmware for this clock. He did a great job designing it to be modular; the clock comes in 5 pieces, 1 power supply, 1 CPU, 3 display boards (each one holding 2 tubes).
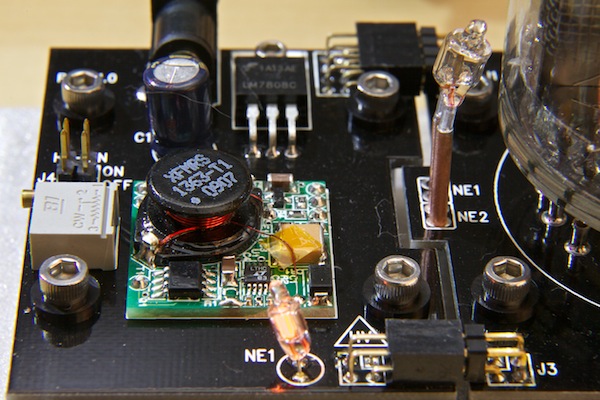
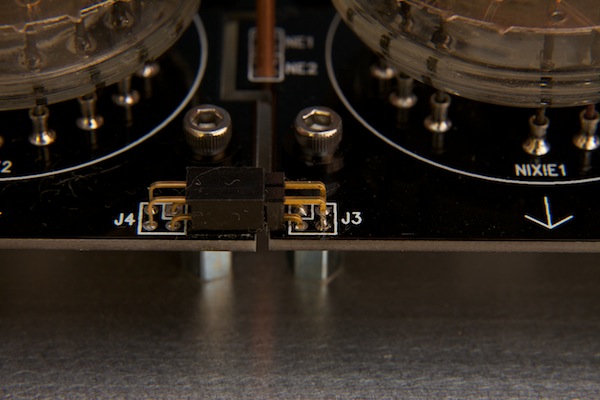
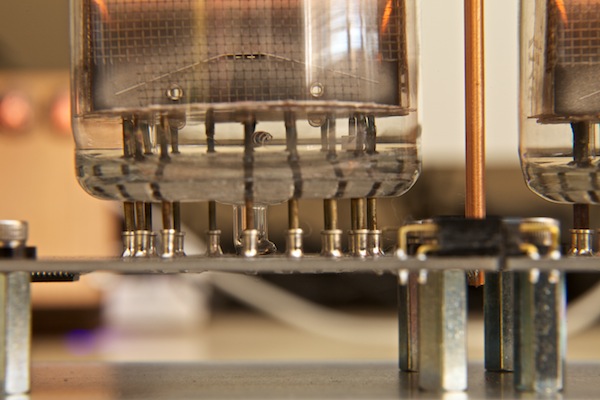
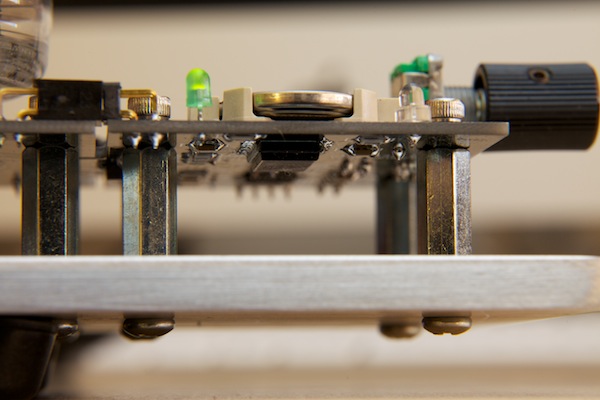
The PCB itself is a nice black board with the substantial portion of the components being surface-mount. In fact, lost of the circuitry is hidden on the underside of the board which gives the device a nice clean look.
The power is supplied by a Taylor Electronics 45mA, 180V DC 1264 HVPS-H design. It is pretty cool; the device is about the size of a large postage stamp and it provide more than enough power to run the 6x B7971’s.
The CPU is an ATMEGA 168-20AU and there is a programming connector on the top of the CPU board. As new versions of the firmware are released, you will be able to use this interface to update the (already great) software.
The time is kept using a MAXIM RTC DS3232. It is a temperature controlled oscillator with an integrated real time clock. This device features an accuracy of +/- 2ppm in normal operating temperature ranges (or about 2 x 10^-6 accuracy).
Light Sensor
The clock allows you to set two brightness levels, appropriately named DIM and BRIGHT. Each value is set independently (0-255) and the clock can automatically switch between these based on the ambient light in the room.
On the CPU board, to the right of the battery is what looks like a clear LED. This is a photo sensor that the clock uses to gauge the ambient light in the room. You can read the value of this via the menu (0-255) and use it to determine at what point you want the display to go dim or bright.
Once you have a level set that you like (mine is 200), you can set the threshold in the software. So, when the ambient brightness is at 200 or higher, it switches my tubes to BRIGHT. When it is less than 200, it sets them to DIM.
In addition to being a cool feature, this helps you prolong the life of the tubes. By keeping the displays dim, you can prolong the life of these already hard-to-find tubes.
Fonts
This clock has lots of built in fonts and some are defiantly more legible than others. The fonts only are used when changing the time; they do not apply to the menu items. The reason that it is setup this way is to prevent a user from selecting a hard-to-read font and then not being able to read the menu items. Be sure to watch the end of the video to see the font demonstration.
The Menu
The menu on this device is awesome. All of the user input is done via the rotary encoder.
Most importantly: setting the time is easy. If the user briefly pushes on the knob, he is presented with the option to set the time. Simply turning the knob adjusts the highlighted value and pressing the knob in advances to the next option HH->MM->SS.
If the user long-presses the knob, they are taken to the menu. Each menu item is displayed, in text, one at a time as the user rotates the knob. Pressing the knob enters that particular sub menu. This may sound a little confusing but it is very intuitive in person. Be sure to watch the end of the video to see the menu options on display.
- Time
- Font
- Day
- Date
- Month
- Year
- DST MD (DST Mode on/off)
- Dim (the dim-level value)
- Bright (the bright-level value)
- LVLSET (ambient light level to switch from dom to bright)
- TM OFF (turn off display at this time)
- TM ON (turn on the display at this time)
- DOT MD (dot mode - determines how the colon separates operate)
- AM/PM
- XFade
- DATEMD (how frequently the date is displayed)
- DATEDL (How long to wait before displaying the date at the top of a minute)
- YEAR D (display year)
- 12/24
- LZ SUP (leading zero suppression)
- LED MD (LED Mode - on/off/auto)
- QWKSET (Enable the quick set menu for setting time)
- FNCAT (font catalog)
- Factory (factory reset)
- TUBETM (display the tube timer)
- SEGTST (segment test)
- ENCDIR (set rotary encoder direction)
- PWMVAL (set the PWM value)
- LDRTST (display the ambient light level)
- EXIT
Overall Impressions
I love it. Seriously. I really like this guy. If you have the tubes or have access to them, call BadNixie.com right now. There are are lot of features in this device so if you have any questions, please do not hesitate to leave a note in the comments below.
Images
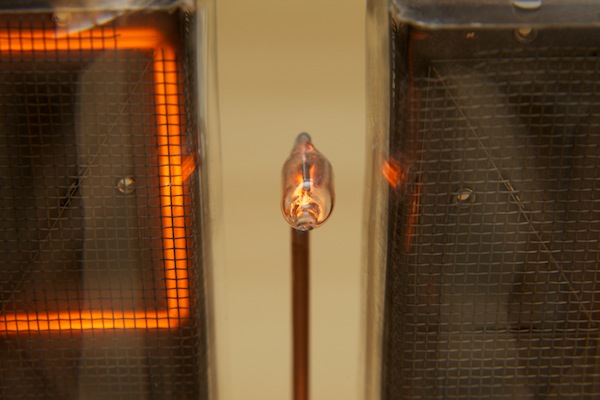
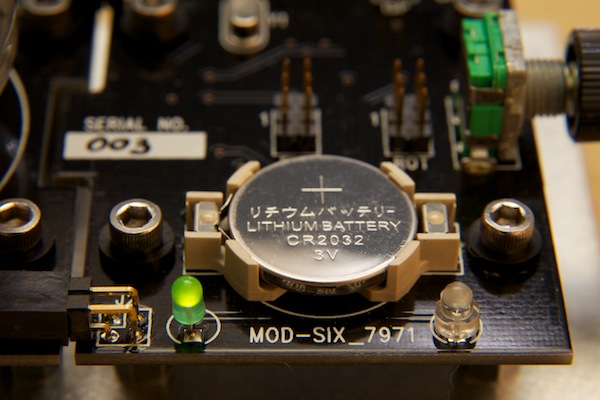
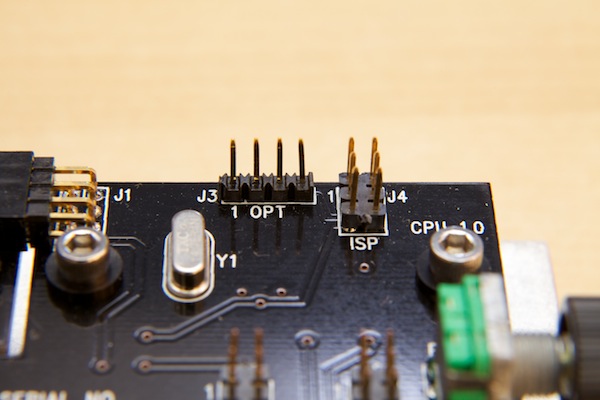
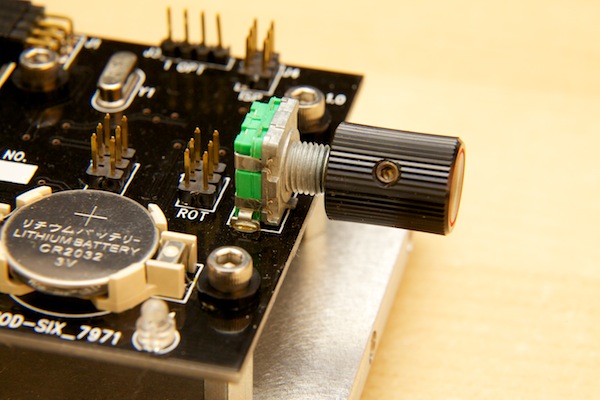
Links
- Details
Video Review
{vimeo width="700" height="390"}24979437{/vimeo}
The Enclosure
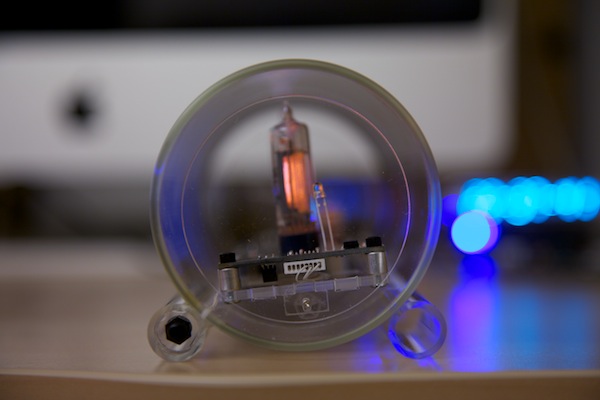
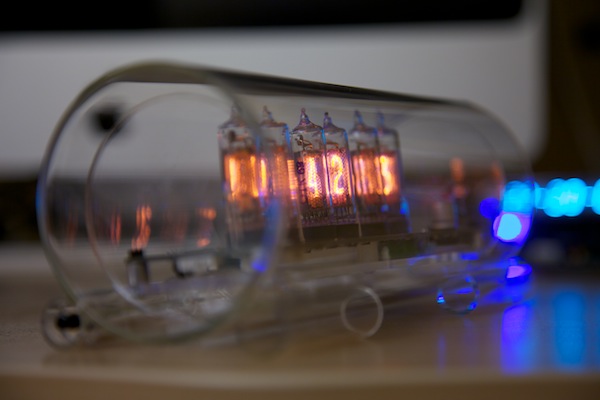
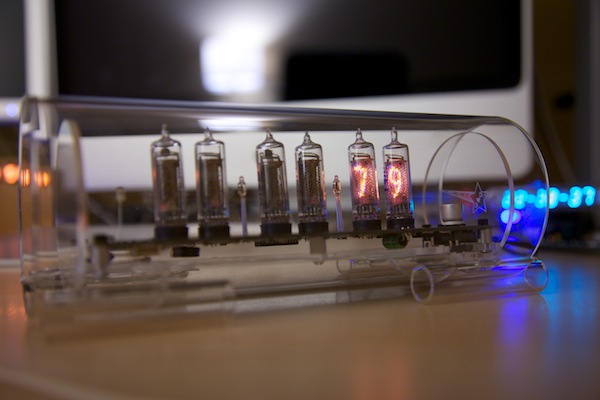
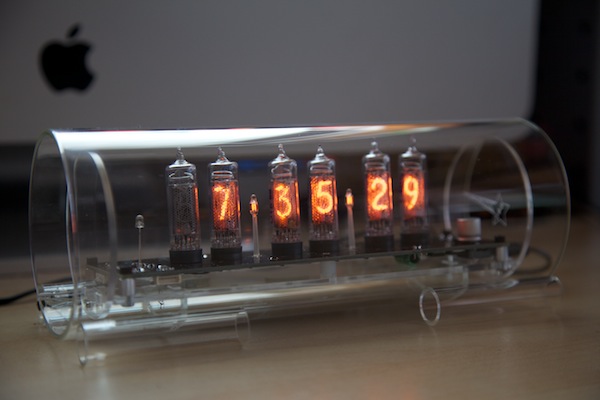
The stand out feature, in my opinion, is the enclosure for this clock. I’ve reviewed clocks made from wood, from Plexiglas, from acrylic, and from metal but never one from glass. I’m not an artist but it seems like glass would be a particularly difficult material to manage and that is exactly why this clock is so cool.
The glass is brand called Simax and is made in the Czech Republic. Is it a borosilicate glass (similar to Pyrex) that is exceptionally clear and sturdy. The construction of the enclosure is pretty unusual. The glass is shipped in a tube shape but you cannot simply take a hack saw and cut it to length.
The main body is to a 150cm length and then smoothed out with a torch. To relieve the stress created by heating the ends, the entire tube is placed in a kiln for several days in order to relieve internal stresses created.
The glass fee take even more work. Miachel had to cut this with a water-cooled glass saw and then grind down the edges using a special wet belt grinder using various grits. This gives the feet a smooth edge that looks very clear. The feet are adhered to the main tube using industrial glass glue.
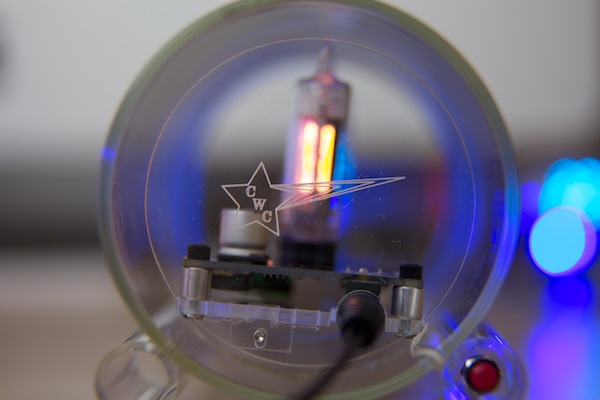
The internal components are suspended in the tube using a piece of acrylic. It is capped off using two circular pieces, one with the ColdWarCreations logo and one with the CCCP mark.
The net effect: this enclosure is awesome.
The Electronics
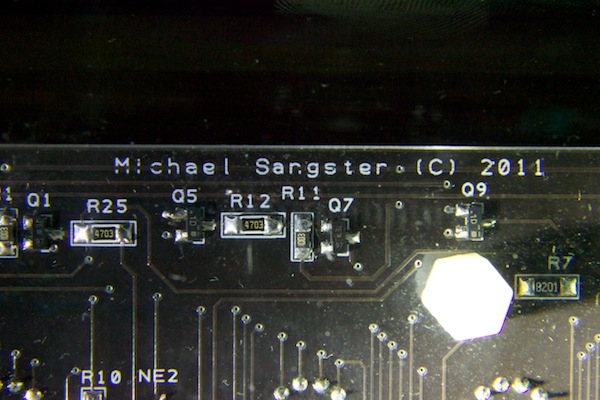
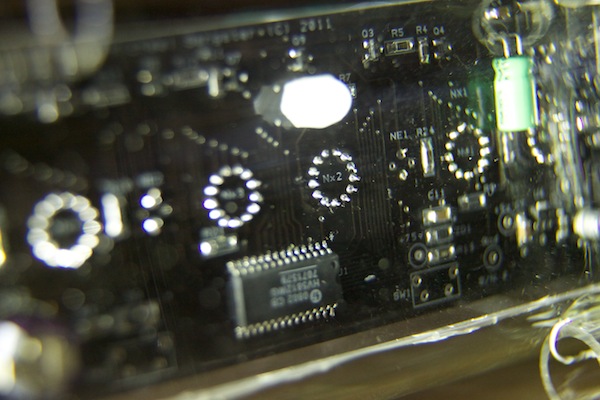
A lot of hobbyists prefer through-hole construction. This method means that assembly for an end-user is easier but the drawback is that the components are more visible. This design uses primarily surface mount components. The means that the user is visually drawn to the tubes and not to the electronics.
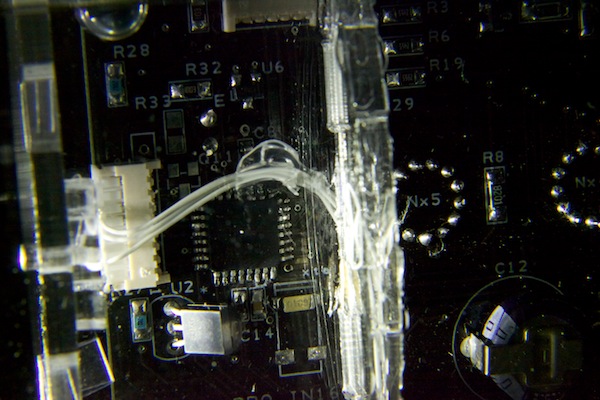
There is a great attention to detail with this clock. The SMD components take up less space and Michael even went as far as to use micro Molex connectors to keep the connectors as small as possible. Apparently this takes special crimp tools to make a puny 30 gage wire is used to make them less visible.
The goal with the circuitry was to make it invisible and this design achieves it. For being installed in a glass case, the “guts” are barely noticeable.
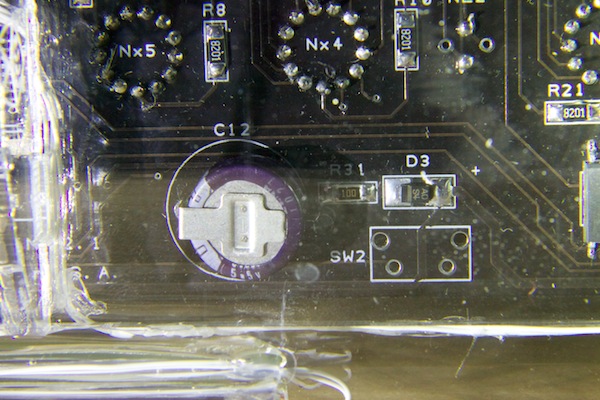
Powering the clock is an Atmel Mega 168 microprocessor. The timing is provided by a temperature compensated 32kHz crystal and the backup power is provided by a super capacitor. Analog inputs are used for the light sensor and the temperature sensors. (More on those later)
The power supply is an isolated 9V DC wall transformer. Internally, the power is boosted to Nixie-levels using an MC34063A power supply controller.
Do you want to know more about the electronics? Michael posted the schematic here: http://coldwarcreations.com/nixieclk3.html
Clock Functions
Controlling the clock is surprisingly simple. There are two buttons hidden in feet of the clock that are used to set the parameters. Initially I was apprehensive about only having two buttons but, to my surprise, it is surprisingly intuitive. The red switch sets the mode and the black switch is used to set the function.
This clock comes with a built in light sensor. This is a cool feature - it adjusts the brightness of the tubes based on the ambient brightness. This allows for brightness when you need it but extends the life of the tubes. The brightness is controlled via pulse width modulation and provides a maximum current of 3 mA.
Lastly, this device comes with a temperature sensor. It continuously adjusts the algorithm to ensure an accuracy and can display the temperature along with the time and date.
Other features worth mentioning:
- Anti-cathode poisoning mechanism
- Digit cross fading
- Automatic leap year correction
- Night time display dimming
Internal Photos
External Photos
